For coaching, nail care is an important point in the list of procedures. But not everyone has the opportunity to go to the beauty salon every 2-3 weeks. Throw care in this case is stupid, because you can learn how to make a manicure at home. About all nuances of the procedure will tell in this material.
Why not the device?
Looking through hundreds of video with manicure ideas in instagram, you may have a logical question: "Isn't it easier to learn the hardware manicure to clean the cuticle?" Reply definitely: no, not easier. First, about savings here will not go and speech. The cost of a good apparatus and cutter is high, and it will pay off at home in a couple of years. Secondly, we do not advise anyone to work on the device without prior learning. It is possible to damage the plate, because of which the nails will be laired, their thickness will decrease or they are completely deformed.

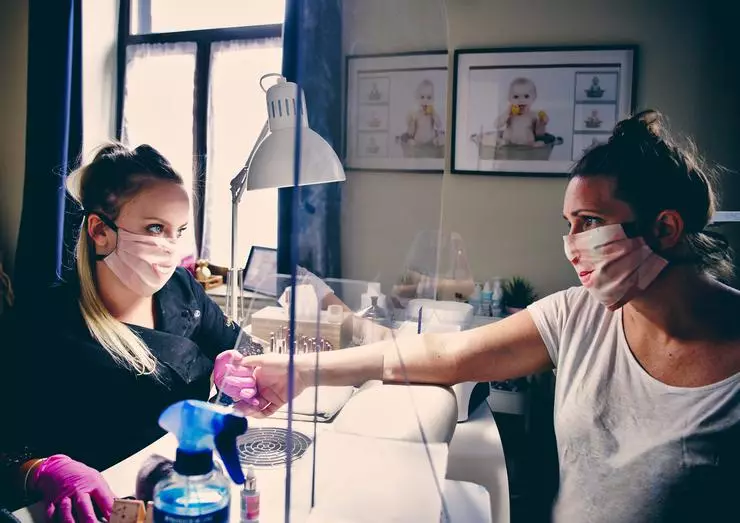
Not everyone for pocket manicure in the cabin
Photo: unsplash.com.
Where to begin
Deciding to learn the edged manicure, do not be afraid of difficulties. With experience, everything will become simple - it is important to train and not give up. Start with the habit of moisturize your hands with cream: so your cuticle and skin around the nail will always be soft and elastic, so it will be easier to trim it. Remember that on the day of the manicure cream should not be applied - it can provoke a coating detachment.
You should go to a professional store for manicure or order online tools. We advise you to make a cut manicure for scissors, and not blindfold - they are easier to spend a smooth cut. Additionally, you will need the Pusher - take the option with a pointed thin tip, not a large thicker end. So move the cuticle and raise it easier at times.
Do not forget about hygiene
Even before the start of practice, you need to teach yourself to hygiene. Purchase antiseptic for tools and antibacterial soap. Process the tools after each manicure and immediately in front of it. So you will protect yourself from infections and dust that covers the tools when stored. It is also important to wash your hands - it will never be superfluous.
Go to practice
Before manicure, steal your hands in warm or slightly hot water. In our experience, this is a more efficient method to make the cuticle elastic than using the means for softening it. Next, take the Pusher and put it exactly over the plate. Slightly raise, so that the pascher in relation to the nail is at an angle of 30-45 degrees. Slow downwards shift the cuticle closer to the base of the nail. Then start moving the side angles of the flush: with a lift of the left corner you open the right sinus, and with a lift of the right corner - left.
When you see a thin pink strip under the cuticle, you need to stay. This means that you moved correctly and raised it. Now take scissors and start with a convenient side of you: for the right-hander - right sinus, for left-handed - left. One movement cut off the cuticle, turning the hand with the scissors of the wrist bone up and changing its position when changing the cutting angle.

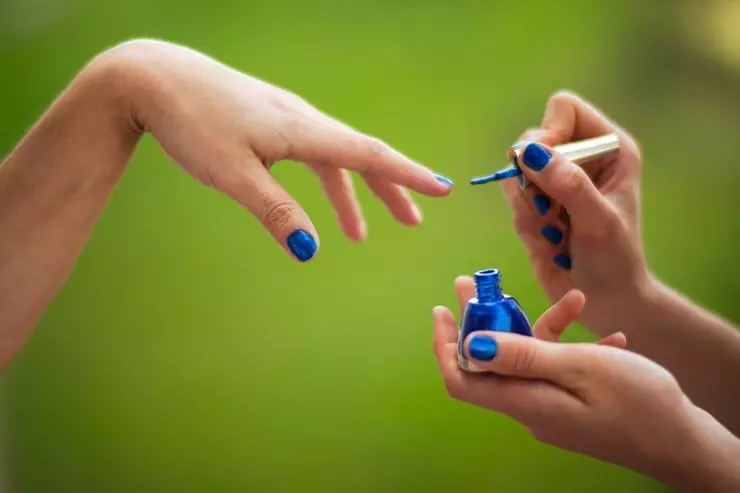
After the coating, apply cream or oil
Photo: unsplash.com.
Complete manicure
When you cut the cuticle on all nails and covered your nails with gel varnish, you can apply cream or butter on them. It is better if it will be vitamins E and A - they contribute to cell regeneration. Update the manicure once a couple of weeks when you see that the cuticle has grown or has become land.
